General
Very straight forward.
Couple of notes
- On the rear brakes, the you DO NOT compress the piston with a C Clamp. Use an allen wrench to turn a screw that compresses the piston
- you do not need to remove the 'key" when unwinding using the 4mm allen wrench. you should be able to see the piston retract when turning.
- I had to use a hammer to gently tap the rotors as I rotated then to break them free.
- I released the parking brake
- I used a lift as couple of the bolts were on tight and extra room made access much easier to break free.
lots of good info on miata net and you tube
front
https://www.youtube.com/watch?v=4VTpB_PEcQQ
rear
https://www.youtube.com/watch?v=1PxL23FHdTE
Wednesday, November 21, 2018


Saturday, September 29, 2018
Miata NA cursed water plug part # FEA7-13-104
General
1991 Miata US w/ 226K miles
Overall the job was straight forward and took me a couple of hours with breaks.
Only needed to remove the ignition coil which turns out to have been the hardest part. Specifically the lower bolt [12mm]. Removing two heater hoses would have made it easier. I did not.
Special thanks to Rocky's Miatomotive for advice on access
Specific
Tools
- ratchet/12 mm socket
- regular pair of pliers
- small flashlight
- flat head screw driver
Parts
- FEA7-13-104 (cap, ceiling)
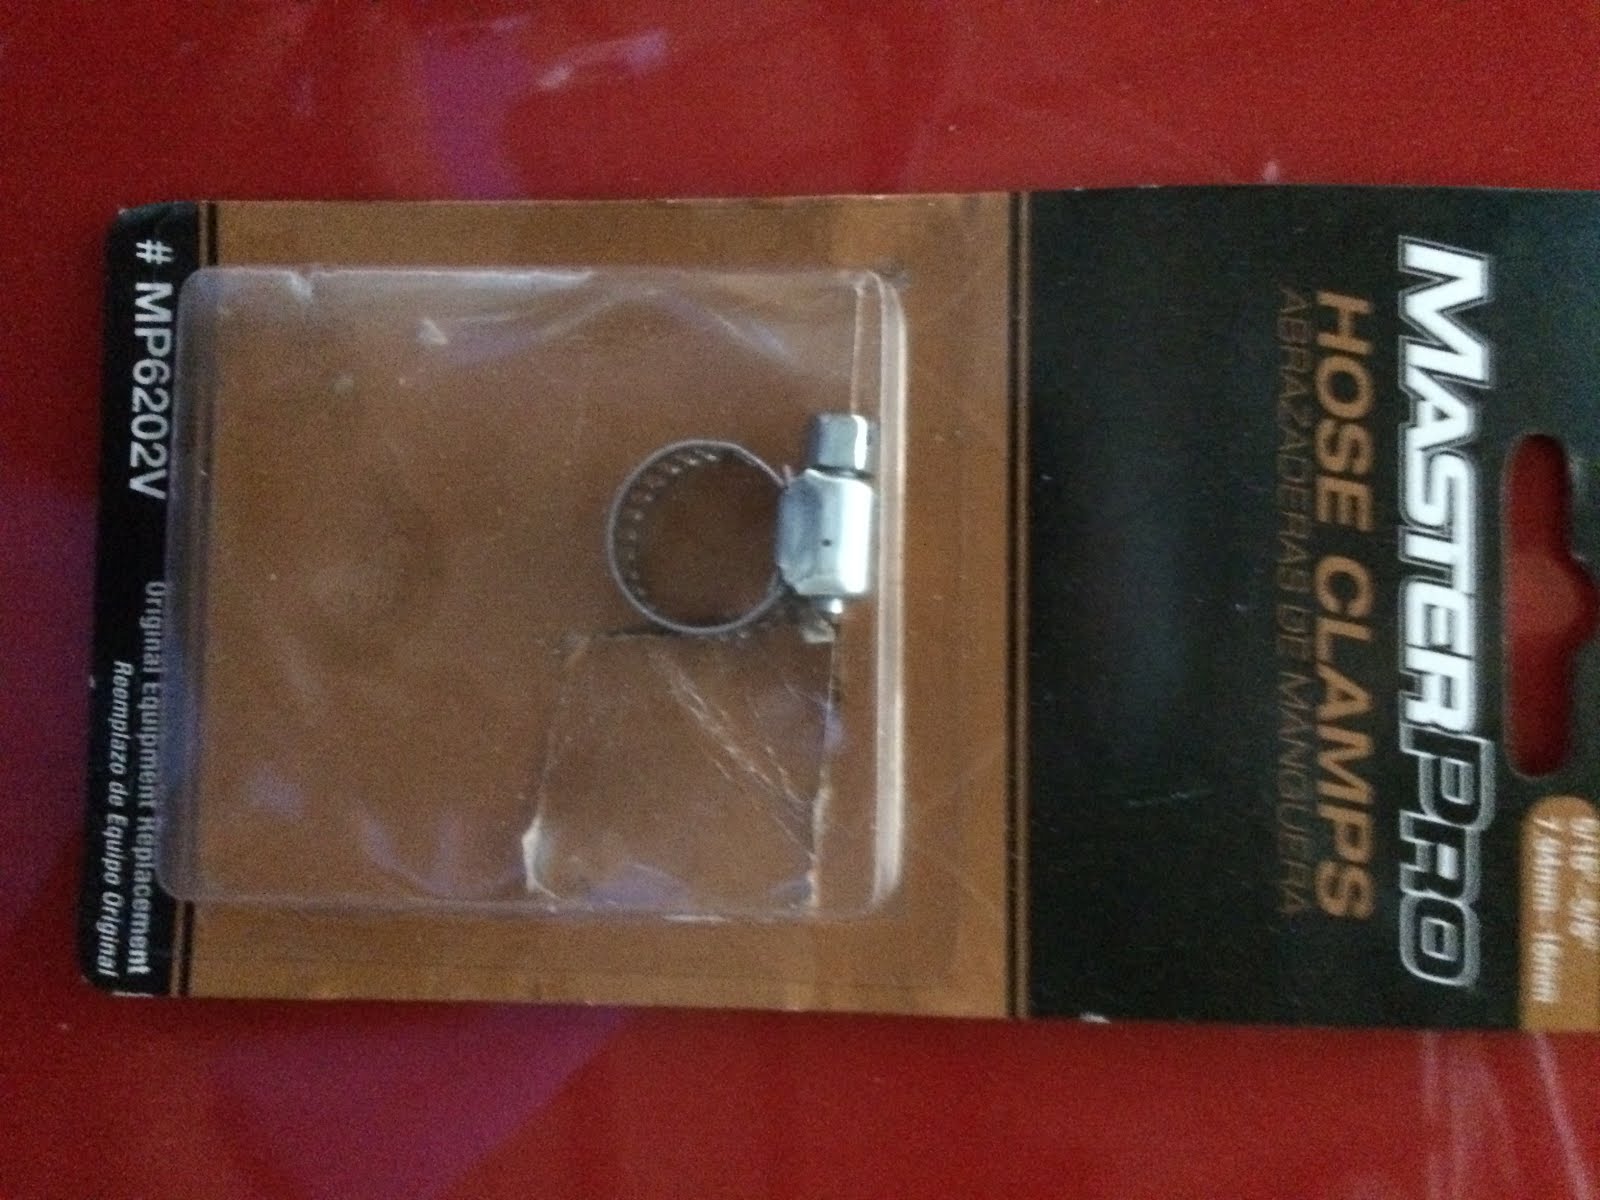
- Clamp (worm style)

Overview
- While I could reach in with my left hand from the passenger side and touch the plug, I needed visibility and additional access in order to remove and replace the clamp. Removing the ignition coil served two purposes
1) allowed me to shine a flashlight down onto the plug so I could see to grip the clamp
2) provided access to allow me to tighten the new clamp (used worm gear)
Specifics
Step 1 - remove ignition coil. top 2 12mm bolts are easy. bottom 12mm bolt was a challenge due to limited room. I was able to get a ratchet on the bolt and it was slow going. Range of motion was limited by the heater hoses so only turning the bolt about a 16th turn each time.


Step 2 - remove clamp/cap. with a flashlight shining down from the space opened up after removing the coil, with my left hand I was able to get a pair of pliers on the clamp and the light allowed me to see what I was doing. Clamp/cap came of easily with no residue on the pipe.
Step 3 - replace cap/clamp. using my left hand I was able to reach in a and push on the cap. used saliva as lubricant. then used my left hand to slip on the clamp and hold it in place. Then looking down from on top [ignition coil gap] , with my right hand was able to use a screw driver to tighten the worm clamp.
Step 4 - replace ignition coil. Tight fit but was able to get the bolt started then, as above, took a while to tighten due to limited range of motion on the ratchet.


.

Saturday, April 28, 2018
Garmin NUVI 1300 update maps
2017 .img file available via goolge search
format SD card and create Garmin folder
copy file into Garmin folder on SD card
to load map(s)
tools
settings
map
info
check map(s) you want
if more than one map then
format SD card and create Garmin folder
copy file into Garmin folder on SD card
to load map(s)
tools
settings
map
info
check map(s) you want
if more than one map then
GMAPPROM.IMG
for the Primary mapset
GMAPSUPP.IMG for the second
GMAPSUP2.IMG
for the third Saturday, March 3, 2018
Google Play Music Manager
uploading songs via music manager did not find my itunes folder even though it was in the default location
edit>preferences>advanced
check "share itunes library XML with other applications"
restart music manager
if you have your itunes library file somewhere else then take a look here
http://redballer.blogspot.com/2017/03/using-itunes-with-google-music-manager.html
edit>preferences>advanced
check "share itunes library XML with other applications"
restart music manager
if you have your itunes library file somewhere else then take a look here
http://redballer.blogspot.com/2017/03/using-itunes-with-google-music-manager.html
Saturday, January 20, 2018
Panasonic TC-50PU54 Power Supply Replacement
tv would not turn on. no power/no blinking lights/nothing
goolge search for troubleshooting tv power supplies reutned several good videos
https://www.youtube.com/watch?v=qxG3hmmvkJs
i was not getting any standby voltage on power supply board so decided to spend $25 on power supply on ebay before paying a tv repair ship or buying a new tv
replaced board and TV is working.
details
remove the back cover. easiest to have it lying face down on the floor
about 2 dozen screws. 3 sizes. all Phillips head

disconnect ribbon in lower right corner of power supply board (blue circle) and check for any voltage on the pins. i did not get any voltage on any pin so assumed bad board.
disconnect 4 other connectors (red circles). can do by hand.
remove 5 screws
replace board.
goolge search for troubleshooting tv power supplies reutned several good videos
https://www.youtube.com/watch?v=qxG3hmmvkJs
i was not getting any standby voltage on power supply board so decided to spend $25 on power supply on ebay before paying a tv repair ship or buying a new tv
replaced board and TV is working.
details
remove the back cover. easiest to have it lying face down on the floor
about 2 dozen screws. 3 sizes. all Phillips head

disconnect ribbon in lower right corner of power supply board (blue circle) and check for any voltage on the pins. i did not get any voltage on any pin so assumed bad board.
disconnect 4 other connectors (red circles). can do by hand.

remove 5 screws
replace board.
Wednesday, November 22, 2017
Nikon Super coolscan 4000 ed on windows 10
sources
http://blog.controlspace.org/2010/05/nikon-scan-on-windows-7-and-vista-64.html
https://axelriet.blogspot.com/2009/10/nikon-ls-40-ls-50-ls-5000-scanners-on.html
https://www.nikonimgsupport.com/na/NSG_article?articleNo=000026780&configured=1&lang=en_SG
desktop running windows 10 with firewire (1394) connection
basic steps to load nikon scan software
with scanner OFF
- download and install nikon software 4.0.3 (ns403en_vista.exe - see 3rd source above or google nikon 4.0.3)
- modify .inf file.; in my case i edited the Nks1394.INF file located in c:/program files(x86)/common files/nikon/driver/scan1394 directory. (text i used located)
turn scanner ON
- reboot windows allowing it to use unsigned drivers (write this down) settings/update and security/recovery/under advanced start up/restart now/ then press f7 during windows startup
- update driver. scanner should be visible in device manager under imaging devices as
Nikon SUPER COOLSCAN 4000 ED. choose browse my computer and navigate to the updated inf file
- software should now recognize scanner and work
[note - need to replace & with & in below]
; Nks1394.INF -- Windows Still Image Setup File of
; Nikon 1394 Scanners for Windows ME/2000/XP
; Copyright (C) Nikon Corporation 2003
; Manufacturer: Nikon Corporation
; scanners.inf - Windows Still Image Setup File
; modified inf file
[Version]
Signature="$CHICAGO$"
Class=Image
ClassGUID={6bdd1fc6-810f-11d0-bec7-08002be2092f}
Provider=%Provider%
DriverVer=1/1/2009,1.0
[Manufacturer]
%Mfg%=Models,ntamd64
[Models]
; USB scanners
"Nikon LS-40" = USBScanner,USB\Vid_04b0&Pid_4000
"Nikon LS-50" = USBScanner,USB\Vid_04b0&Pid_4001
"Nikon LS-5000" = USBScanner,USB\Vid_04b0&Pid_4002
; Firewire scanners
"Firewire Scanner" = SBP2Scanner,SBP2\GenScanner
"Nikon SUPER COOLSCAN 4000 ED" = SBP2Scanner_NIKON,SBP2\NIKON___&LS-4000_ED______&CMDSETID104D8
"Nikon SUPER COOLSCAN 8000 ED" = SBP2Scanner_NIKON,SBP2\NIKON___&LS-8000_ED______&CMDSETID104D8
"Nikon SUPER COOLSCAN 9000 ED" = SBP2Scanner_NIKON,SBP2\NIKON___&LS-9000_ED______&CMDSETID104D8
;---------------- Duplicated from [Models]
[Models.ntamd64]
; USB scanners
"Nikon LS-40" = USBScanner,USB\Vid_04b0&Pid_4000
"Nikon LS-50" = USBScanner,USB\Vid_04b0&Pid_4001
"Nikon LS-5000" = USBScanner,USB\Vid_04b0&Pid_4002
; Firewire scanners
"Firewire Scanner" = SBP2Scanner,SBP2\GenScanner
"Nikon SUPER COOLSCAN 4000 ED" = SBP2Scanner_NIKON,SBP2\NIKON___&LS-4000_ED______&CMDSETID104D8
"Nikon SUPER COOLSCAN 8000 ED" = SBP2Scanner_NIKON,SBP2\NIKON___&LS-8000_ED______&CMDSETID104D8
"Nikon SUPER COOLSCAN 9000 ED" = SBP2Scanner_NIKON,SBP2\NIKON___&LS-9000_ED______&CMDSETID104D8
;---------------- USBScanner -------------------------
[USBScanner]
Include=sti.inf
Needs=STI.USBSection
SubClass=StillImage
DeviceType=1
DeviceSubType=1
Capabilities=0
[USBScanner.Services]
Include=sti.inf
Needs=STI.USBSection.Services
;---------------- SBP2Scanner ------------------------
[SBP2Scanner]
Include=sti.inf
Needs=STI.SBP2Section
SubClass=StillImage
DeviceType=1
DeviceSubType=2
Capabilities=0
[SBP2Scanner_NIKON]
Include=sti.inf
Needs=STI.SBP2Section
SubClass=StillImage
DeviceType=1
DeviceSubType=2
Capabilities=0
AddReg=NK1394SCN.AddReg
CopyFiles=NK1394SCN.CopyUSDFiles
[SBP2Scanner.Services]
Include=sti.inf
Needs=STI.SBP2Section.Services
[SBP2Scanner_NIKON.Services]
Include=sti.inf
Needs=STI.SBP2Section.Services
[NK1394SCN.AddReg]
HKR,,HardwareConfig,1,2
HKR,,DevLoader,,*NTKERN
HKR,,NTMPDriver,,"scsiscan.sys"
HKR,DeviceData,ICMProfile,1,0,0
HKR,,USDClass,,"{07C71AC0-FA90-11d3-B409-00C04F87578E}"
HKCR,CLSID\{07C71AC0-FA90-11d3-B409-00C04F87578E},,,"Nikon STI USD"
HKCR,CLSID\{07C71AC0-FA90-11d3-B409-00C04F87578E}\InProcServer32,,,%11%\NKSCNUSD.DLL
HKCR,CLSID\{07C71AC0-FA90-11d3-B409-00C04F87578E}\InProcServer32,ThreadingModel,,"Both"
[SourceDisksNames]
1=%DiskName%,,
[SourceDisksFiles]
NKSCNUSD.dll=1
[DestinationDirs]
NK1394SCN.CopyUSDFiles=11
[NK1394SCN.CopyUSDFiles]
NKSCNUSD.dll,,,32
;-----------------------------------------------------
[Strings]
Provider="steelchn@gmail.com"
Mfg="DIY Software"
DiskName="Nikon Scan 4 CD-ROM"
;========================= End of scanners.inf ===============================
Saturday, November 4, 2017
google voice raspberry pi [pygooglevoice]
using pip install pygooglevoice i got an error something like
galx = re.search(r"name=\"GALX\"\s+value=\"(.+)\"", content).group(1)AttributeError: 'NoneType' object has no attribute 'group'
it worked when i download pygooglevoice-master fromhttps://github.com/pettazz/pygooglevoice
copy files into lib/site-packages from pygooglevoice foldersudo python setup.py install
Subscribe to:
Posts (Atom)