Tuesday, July 6, 2021

programming ATtiny85 w/arduino uno to send binary data via rf433

 this was 'easy' but way harder than it should have been.  

The overall process for loading the board and programming steps is well documented on the web.

The following were the 'mistakes' I was making, specifically not executing several steps and/or not in the correct order

1) Before you program the ATtiny85 board you need to upload the ArduinoISP example sketch to your Arduino Uno.  When you upload the sketch the board should be arduino uno and the programmer should be Arduino as ISP.


2) After the ArduinoISP sketch successfully loads, jumper the reset pin on the arduino.  Jumpering the uno reset pin (required for programming the ATtiny85) before executing this step resulted in failure for me.


3) Selections in the tools menu when programming the ATtiny85

- board:  ATtiny25/45/85

- Processor: ATtiny85 

- Clock: Internal 8Mhz

- Programmer "Arduino as ISP".  Do not use ArduinoISP


4) upload your desired sketch.  


Other notes

I wound up jumpering the reset pin on the arduino to the 5V on ICSP header.  Conventional wisdom on the web was to use 10 uF capacitor between reset & ground on the arduino board so proceed at your own risk


3) Pin wiring for execution of arduino code to send RF433

Power supply

-  5v to ATtiny Vcc (physical pin 8) & Transmitter Vcc

- Ground to ATtiny GND (physical pin 4) & Transmitter GND

- ATtiny PB3 (physical pin 2) to Transmitter Data pin


4) code

the following code successfully sent binary '161611' via RF433 to receiver set up on raspberry pi3 


// start with very simple sketch to send code
#include <RCSwitch.h>
RCSwitch mySwitch = RCSwitch();
void setup() {
  // Transmitter is connected to Attiny Pin PB3  <--
  // That is physical pin2
  mySwitch.enableTransmit(3);
}
void loop() {
    mySwitch.send(151611, 24);
    delay(1000);
  }


Sunday, June 20, 2021

Motioneye on Raspberry Pi w/ wyze v2 camera & NAS storage


my setup

- Pi 4 running Raspbian GNU/Linux 10 (buster)

- Docker w/ motioneye & docker-wyze-bridge containers

-WD MyCloud NAS (remote access disabled)

- Windows 10

- Wyze v2 indoor cam w/ rtsp 

- Wyze v3 outdoor cam (docker-wyze-bridge


key steps

- mount NAS share to Pi folder.  

sudo mount -t cifs -o rw,guest,vers=1.0 //[ip_address of NAS drive]/[NAS folder name]  [mount point]

- start motioneye container (from https://github.com/ccrisan/motioneye/wiki/Install-in-Docker)

docker run --name="motioneye" \

    -p 8765:8765 \

    --hostname="motioneye" \

    -v /etc/localtime:/etc/localtime:ro \

    -v /etc/motioneye:/etc/motioneye \

    -v /mount/point:/var/lib/motioneye \  

    --restart="always" \

    --detach=true \

    ccrisan/motioneye:master-armhf


- from browser open motioneye  

-  add camera. for wyze v2 camera 

device =  rtsp://192,168.x.xxx/live and username/password same as wyze app

storage device = custom path (default and only option)

root directory = /var/lib/motioneye (the -v  /mount/point:/var/lib/motioneye from above maps to the NAS drive 


Sunday, June 6, 2021

ESP8266 wifi

lessons learned from building a door/window sensor using the ESP-1 (8266) and this tutorial as a guide


$5 DIY Wireless MQTT Smart Home Window Sensors (original & 'fixed')

https://www.youtube.com/watch?v=BoYVr2UwWWg

https://www.youtube.com/watch?v=2kLZ7DlP9KU&t=60s

Executive Summary.  Could not get the sensor to work reliably due to issues with CR2032 battery (not enough mAh to power up chip) & reed switch (stopped going completely open when magnet removed).  

Even though Ithe end results were unsatisfactory it was a great learning experience covering arduino programming of a ESP-1 module and setting up an MQTT server.  

Details of issues

(using arduino sensor script from the original video (i.e. without the ip address of the chip)

power.

-  It was working great during bread board testing using a dedicated power supply (3.3V).  When I went to test after assembling the sensor using CR2032 coin cell battery it would not work.  Google searches identified potential issue with that particular chip requiring ~ 320mAh to power up and connect to wifi while the CR2032 can only provide ~200mAh.

- I then connected to 2 AAA batteries and that solved the power issue although now I did not have a nice 3d printed container

The author mentioned he had one 'power hungry' chip (of 10) that would not work unless connected to a power supply.  All 5 of my ships would not work so wondering if there was a design change on the chip in the last 3 years?


reed switch

- After confirming the 2 aaa battery setup was working on a table top, I  used velcro to attach the sensor and magnets to the door and got inconsistent results.  

- delay in getting 'open' message. 

> Initially I thought this could be due to weak wifi signal at the door from home router. signal strength at the location was in the -55 to  - 60 dB range. Looked online and that should have been good enough.

> read one post that having the wifi sensor close to the ground reduces the transmit signal.  As the chip was flush against the door frame was wondering if this was an issue.  I aligned the wifi chip so it was perpendicular to the frame while the reed switch would still be parallel to the magnets.   Inconsistent results (i.e. sometime never got a 'open' message. other times it would show up 20 seconds later)

>I then checked the reed switch resistance using a volt meter and leads hooked up to either side.  I got expected reading (1) when magnet was nearby (i.e. less than 2mm) but did not always get zero when magnet moved away.  When I got zero I got an 'open' message.  


Final Thoughts

I am not sure I figured out the exact cause(s) but am sure I could not get the sensor to work reliably after spending hours trouble shooting. 

Overall this project was a great learning experience as I start to get into DIY home automation as it tied together programming a ESP wifi chip (8266) via arduino, setting up a MQTT server, homebridge, home assistant on Rapsberry pi and flow programming (nodeRed).


-


Sunday, May 2, 2021

DIY - Battery Plug for Apple Wireless Bluetooth Keyboard A1314

I got the Apple Wireless Bluetooth Keyboard A1314 keyboard for free then noticed it was missing the end cap for the battery compartment.

readers digest version - made a plastic 5/8" bolt from some instaMold I had and a 5/8" nut. used aluminum foil to complete the circuit.  still a work in progress but functional. 

while I will probably 'splurge' for a new end cap online at some point, this turned into an opportunity to try out the instaMold I have had for a long time but never opened.


details

-Before proceeding, I wanted to know if the keyboard worked.  Put in 2 fresh AA batteries with a small piece of tin foil to connect the circuit between the end of the battery and the inside wall of the battery compartment.  Used my pinky finger to compress in the batteries and complete the circuit.  It worked.

- first step was to determine the thread size.  I did some initial queries on line that seemed to narrow it down to 5/8".  Went to local hardware store, with keyboard, to verify 5/8" bolt would fit.  Gently as the threads are aluminum.  Verified 5/8".  

- I was hoping they had a nylon 5/8" bolt that I could dremel but all they had was Zinc 1 1/2 in length and that was way too heavy and long, even for a prototype.

- Decided to try to make one using instaMold since operating environmentwill be benign

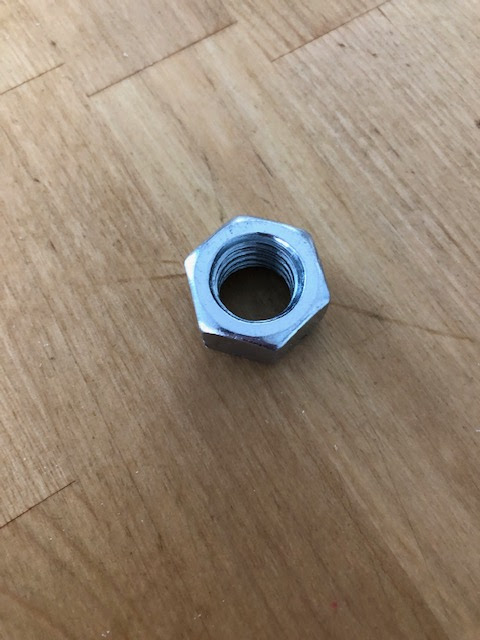
- Used a 5/8" nut as a mold and coated inside with some vegetable oil.


- Used about a tablespoon of the plastic beads.  That was 2x what I needed.

- pressed the softened plastic into the nut then used a coin (quarter) to create a slot on one side.   

- only minor issue was I was not paying close attention and some of the plastic formed to the outside of the nut and had to be trimmed in order to back out the plastic bolt.

- the width of the nut is 2x what is needed so will need to be trimmed if trying to make it flush

- after inserting the 2 AA batteries (positive end towards the middle) I cut a couple of small pieces of tin foil and placed on the negative end of the last battery making sure some of the aluminum touched the inside of the cylinder.  This is needed to complete the circuit.  trying to put it on the thread of the plastic bolt does not work due to the tolerances.

- result is ugly but functional until I get around to creating an amazon order over $25 so I get free shipping


Things to pay attention to or try if there is a next time


- length of bolt.  I pushed the softened plastic all the way into the nut with the nut laying flat on a countertop.  this made sure the plastic conformed to the threads and also had a flat end.   It also resulted in a bolt that was 2x too long.  Could try and cut the bolt via dremel or and insert a metal bolt in one end to shorten the effective width of the nut and therefore the length of the bolt. while I don't think having a flat end is critical, i would be concerned that only trying to push the plastic half way would not get plastic to conform properly to the nut threads.

- as you can rework the plastic easily by just reheating, I would create the thread part first with a simple handle to unscrew the bolt from the nut.  then reheat just the top part to create the slot.  


Friday, March 26, 2021

Miata NA Seat Reupholstery

After 30 years & 241K miles time was time to deal with the deteriorated cloth seats.  

The youtube video on replacing the seat with leather was great and inspired me but  wanted to stay with cloth and did not see anything on line that was basically a oem replalcement.   Passenger side was actually not too bad.  Drivers side had ripped fabric in multiple places and foam showing. 

https://www.youtube.com/watch?v=_mi1HVCnRv0


Short version
- went to a local shop and they did an amazing job for $700.  
- As they did not have an exact color match, I chose "Ascot'  as wanted something a little unique 
- Included zippers in the headrest, foam where needed and back pocket on passenger side so essentially OEM except for the color.
- Very satisfied and no regrets not trying to DIY.  
- Only 'issue' is the brand new seats accentuate the faded black interior


Details

In talking with local upholstery shops - two options
1 - One wanted me to order the replacement covers and they would install
2 - The other would do it all

The latter was highly recommended from multiple sources and only $100 more expensive.
Since I was able to see the fabric and color scheme in person my comfort level was much higher than ordering on line.  In addition I couldn't find any cloth on line so I went with the local shop do it all option.

Color decision.  They did not have an 'exact' replacement so what ever I chose would be a "one off'. 
- Dark Grey, Steel and Slate were 'safe' choices but decided if it was going to be different might as well make it unique. 


Friday, February 26, 2021

Miata NA Shifter rebuild

 91 miata - 241K miles.  1st time doing the procedure

- very straightforward and not difficult.  everything is easily accessible. 45 minutes including taking pictures.  i did spend an hour looking at various you tube videos ahead of time.

- lots of good you tube videos I found this one to be the most helpful


Short version

 https://www.youtube.com/watch?v=53Vz15GdKd0

- also this writeup from the miata.net https://forum.miata.net/vb/showthread.php?p=8041867

- get a kit.  In addition to both upper and lower dust boots having failed, the two 'wavy' washers were toast, the plastic guide was chipped and and nylon cup was missing.

Details

As the above video & write up are comprehensive will just provide some highlights

- i went with moss miata kit ($90).  ordered monday and showed up thursday. .  Only minor complaint is the upper boot dust cover did not have metal reinforcement for the 4 10mm bolts.  it was just rubber while their picture showed the miata OEM part with the metal reinforcement.  

- my shift knob was on tight and could not budge by hand. had to wrap with towel and use a pipe wrench to loosen

- I used a small amount of liquid dishwashing soap (vice grease or vaseline) on the shifter shaft to remove/install the boot covers.

- The shifter came out of the turret easily although the nylon cup at the end was missing.  Could not see it in the turret after removing the oil so who knows what happened to it? 

- Oil was at the fill line but definitely needed to be replaced.  went with 80W-90 gear oil. $7 for a quart at local O'reilly's. 


- i used a pump from a $1 liquid soap dispenser to pump out the oil.

- The turkey baster I had was not able to get in deep enough into the turret.


- Both 'wavy' washers were toast.  The upper one was in three pieces that thankfully came apart after removal of the shifter assembly.

-The lower one (attached to the bushing in the turret) was cracked. This was not evident until after removing the bushing.


- the plastic guide was chipped at the top.


- i left it in neutral and it seated on 2nd try. i installed the lower dust cover afterwards.

- i used a small amount of liquid soap on the gear shift as lubrication when putting on the boot covers (vice vaseline or grease)


Monday, January 11, 2021

NVIDIA ASUS 750 ti HDMI port not providing signal to Dell 4K monitor

My Dell 4K monitor was not getting a signal from my ASUS NVIDIA 750 ti graphics card.

Wound up buying a dual link HDMI (f) to DVI (m) adapter ($5 at Fry's) and works great.

3480 x 2160 resolution at 60hz

Not sure the HDMI port on the graphics card ever worked.  Had been using the VGA port and the HDMI from the built in graphics on my motherboard for a dual monitor set up.  The built in board (Intel HD graphics 530) would drive the 4K monitor but only at 30 hz.

windows 10

8 gb DDR 3 memory

ASUS mobo

ASUS GeForce 750Ti graphics card

Intel i5-6500 CPU

Dell U2720Q 4K monitor.  Comes with both HDMI and Display port cables


Sunday, December 20, 2020

Failed access to a single website - modem/router troubleshooting guide

summary of issue - on or about 17 Dec 2020 I could not longer access the www.tsp.gov website from any device that was using my home network wifi (desktop, iphone, ipad) via chrome, edge or avast .  I could access the site from my phone if I turned off wifi. I had not made any changes to my modem or router and only that website was an issue. I was able to access all other websites 

following is a recap of how I resolved the issue (windows 10, spectrum cable modem, c2300 router)

1st I had to figure out where to start.  Assumed it was either website, router or ISP.  As this is a popular website and no tweets or posts about any issues on the web I decided to start with my router (TP LINK).  

TP Link reps (on a saturday) were very responsive and helped me confirm it was in fact a router issue.  This was determined by bypassing the router and connecting my desktop directly to the cable modem via ethernet.  In this configuration I could access the site. things they had me try that did not work

- change to google DNS 8.8.8.8, 8.8.4.4

- change MTU to 1400 (from 1500)

after 2 hours they were unable to resolve beyond that so plan was to escalate on monday.

I was impatient so decided to troubleshoot on my own now that i knew it was a router issue.

i connected an old linksys router to the cable modem and was able to connect with the website.

when i connected my tplink router and restored the settings from a saved file it would not work

the following worked (need to be patient for each step to complete as it can take a couple of minutes - each)

- power off both cable modem and router for at least a minute

- power on the cable modem and wait until is settles

- connect router and power on.

- hard reset of router (press and hold reset for 10 seconds)

- soft reset of cable modem (need to wait until router settles). took about 2 minutes for the internet light on router to turn from orange (no connection) to white (connection)

- log into router 

-do a fresh set up.  it did not work when i restored from saved configuration file

- i used clone MAC address 


I still have no idea about the root cause of not being able to access only the one website. 


Heater / AC Control Panel Plate - Mazda (NA01-61-C04A) replacement

 plenty of how to videos on google so just adding couple of thoughts 


amazon $32 w/ free shipping

mine was in bad shape after 29 years.  


the control knobs are held in by small phillips head screws.  i had to remove my after market radio to get at the lower two screws.  i used craftsman ph 0 x 40mm screwdriver. think about where the screw would wind up if it drops.  recommend using a towel, 


use old tooth brush to clean out the grooves


there is a clear plastic piece that comes out when you remove the old decal for fan settings.  i used goof off to clean it up.  it appears to be a light diffuser.  


'looking good billy ray'


Saturday, November 28, 2020

2011 Tomos ST Moped for sale by owner [SOLD]

SOLD


just serviced by local motorcycle shop (Kontiki in Pacific Beach CA)

carburetor, fuel filter, spark plug, oil change

low miles (~730)

30mph/100 mpg

registered w/ CA DMV

local pickup only

$700 firm


Saturday, April 4, 2020

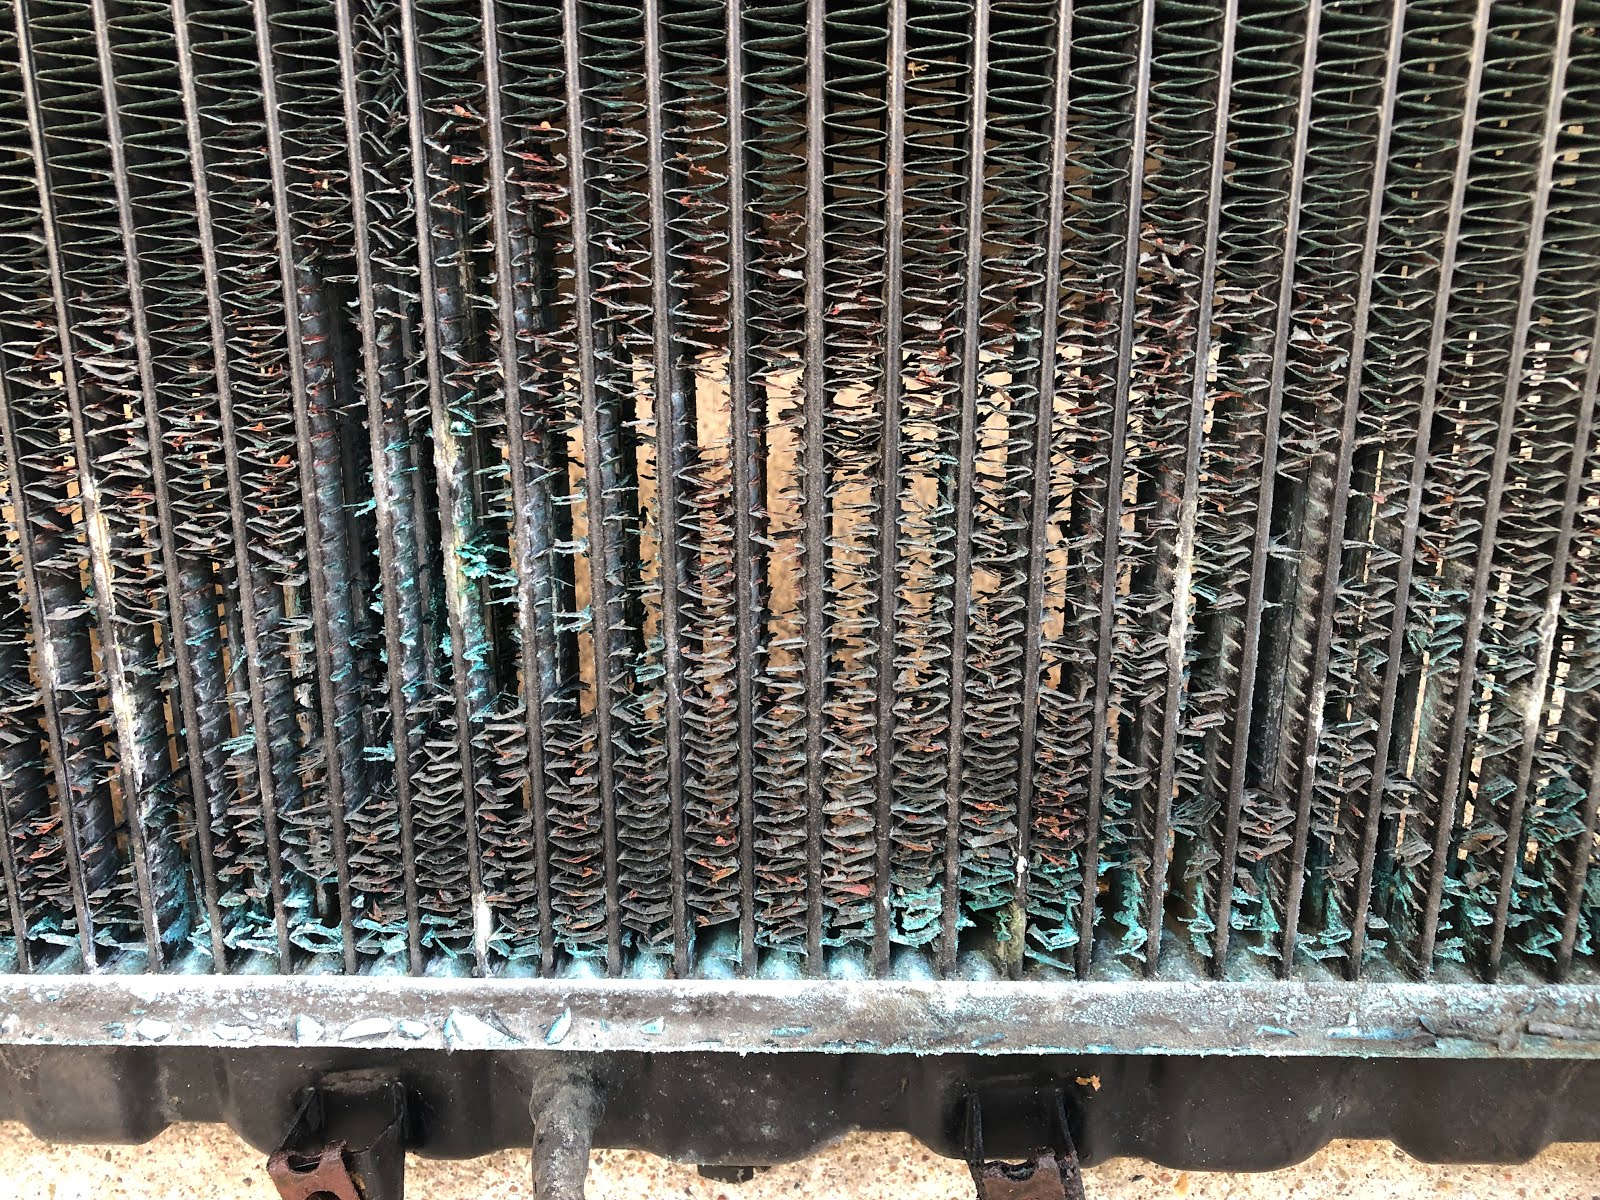
Miata NA radiator replacement

videos available on youtube so just highlighting a few specifics that would have helped me

i got a standard one from o'reilly's locally as did not want to wait for amazon or ebay.   $117.  probably could have saved $50 if bought on line.

original radiator lasted 16 years (165K miles), replacement 13 years. (70K miles)

i was able to re use the fans, grommets and stop bolts.  came with the 8 metal clips that thread the bolts for the two fans.  i did need to replace the bolts as they were rusted (metric size 6 20mm) from hardware store.

removal and replacement was straight forward and can be done alone.  was able to access all the bolts to remove the plastic bottom guard shield and radiator by just jacking up the driver side.  i did wind up having to jack up the passenger side when reinstalling the plastic guard as turned out a couple of bolts were missing.


removing connector on passenger side fan.  insert small flat head screw driver underneath tab  in center to remove


i was able to reuse.  needed to sand the rust off in order to fit the bolt thru the opening of the new radiator


you need to re use the grommets.  remove the center metal piece that allows you to squeeze them in and out


Friday, January 17, 2020

replacement sink for FOREMOST 14-005

FOREMOST 14-005

Avanity Model #CUM18WT

https://www.homedepot.com/p/Avanity-Undermount-Bathroom-Sink-in-White-CUM18WT/202831195

Home Depot for $50

Undermount sink

16 (side to side) x 13 (front to back) oval sink opening looking straight down

drain in same place.

this was only sink I found where i would not have to move the existing bolts.  did not want to mess with drilling into marble.


Thursday, December 26, 2019

Samsung refrigerator lights blinking (Model RB197..)

After power outage, fridge temp sensor was blinking.  Initially the top horizontal led (#1) then after about 10 minutes the lower left led (#5).

I do not have a ice maker.

short version

pressed the power freeze/power cool buttons simultaneously for up to 30 seconds and the panel reset


long version

several different button push combo recommendations on line.  i tried then all with no luck, including the one (above) that eventually worked

unplugged the fridge for at least 5 minutes. no luck with button combo

tried samsung chat.  complete waste of time.  obvious the person 'assisting' me had multiple chats going.  took several minutes to respond to each text, repeated questions and generally did not appear to comprehend my problem.  overall wasted 35 minutes as ended with them saying i needed to have a tech visit.

after the chat i found the above diagram that identified the error codes 1 - ice maker sensor and 5 - I/M function error, both related to ice maker.  Since I don't have an ice maker, opened the freezer and made sure the left hand ice drawer was properly set/level.

unplugged the fridge for 10 minutes.

this time the power freeze/power cool simultaneous push combo worked. 

Tuesday, December 10, 2019

Miata NA (1991) Headlight stuck half way


Engine stalled while headlights were on.  After restarting engine, driver side  headlight  was half way and would not retract if headlights were turned off or internal headlight button pushed.

this video was helpful.  

https://www.youtube.com/watch?v=V6VomjAgitU

what i did (short version)

- removed the 30 amp fuse from the fuse box in the engine compartment (circled in blue)
- disconnect the connector to the headlight motor (circled in red)
- manually cranked to the closed position
- reconnected connector
- replaced fuse
- started car


Observations

when manually turning the headlight motor to full open position (with fuse in) the resistance varied.  Some sections it was stiff and others required very little effort to turn. Have not tried the passenger side to compare

Update: The headlight got stuck several more times over the next couple of days.  First time I manually cranked open (with fuse in place).  Then next two times rather then repeat the above, I wound up starting to drive in that position and it eventually opened to the full position.  One time after about 5 minutes, another time after 10.  Is now working normally.


long version

turned the manual headlight crank down and got resistance so had power to the motor
[designed to allow you to crank open so expect you should not get resistance in that direction]
removed fuse (fuse box in engine compartment - circled in blue) 
manually raised headlight all the way open
replaced fuse - headlight reverted to partially open position (not exactly same spot)
remove fuse, manually lower headlight all the way
replace fuse - headlight reverted to partially open (not exactly same spot)
remove fuse
disconnect motor connector.  
- manually raise headlight to get better access to connector
- push the tab on the connector inwards
- struggle to disconnect
reconnect connector
manually lower headlight
replace fuse - no headlight motion (different than before when it would raise partially up)
start car
turn on headlights - both fully up
turn off headlights - both fully down


Saturday, March 2, 2019

Miata NA (1991) Hood release cable replacement

Very straightforward

great video here titled Miata MX5 Hood Release Cable Replacement - MIATA STREET

https://www.youtube.com/watch?v=hVvwL_CCvdM


bought a new cable from the dealer for $40.  Think I could have bought on line for $20

Fortunately my cable failed with the hood open.  I had been having trouble pushing the handle back in for some time before it finally would not go all the way back in so the hood would not close all the way.  Crappy design as the actual cable was fine.

advice

I attached some string to the end of the cable before pulling it through the firewall.  This made it simple to pull the new cable back through.

Wednesday, January 30, 2019

Porsche Cayman 2008 Windshield Wiper Leak

access.  great article here on how to remove the reservoir.  https://www.renntech.org/forums/topic/48981-windshield-washer-tank-diy/ 

turns out i could replace the pump and grommet with the reservoir in place. although it would not have been obvious until after i did it.

troubleshooting.  the leak was coming from the area where the pump nozzle fit into the grommet at the bottom of the reservoir.  as the water level had to be about an inch higher than the grommet before it started leaking it was not clear exactly where it was leaking.  The fit between the grommet and pump nozzle or the pump housing.  the price of the grommet with shipping was around $12 and pelican parts sold the pump and grommet for $18 so I decided to replace both


helpful hints. 

I removed the entire cowling in the wheel well to provide better access. 

There are 4 screws (T-25 torx) and 3  plastic nuts (10mm).  The 4th screw is underneath the car, just inside the lift lift spot.  It is not shown in the write up

The plastic tab on the fill tube failed (just underneath the finger) when trying to bend it back making it difficult to remove as had no leverage to lift up the tab.


you can remove the pump from the reservoir by simply pulling up on the pump.  it is located behind the green circle


Wednesday, November 21, 2018

Miata NA (1991) Brakes & Rotors

General

Very straight forward.

Couple of notes

- On the rear brakes, the you DO NOT compress the piston with a C Clamp.  Use an allen wrench to turn a screw that compresses the piston
- you do not need to remove the 'key" when unwinding using the 4mm allen wrench.  you should be able to see the piston retract when turning.
- I had to use a hammer to gently tap the rotors as I rotated then to break them free.
- I released the parking brake
- I used a lift as couple of the bolts were on tight and extra room made access much easier to break free.

lots of good info on miata net and you tube

front

https://www.youtube.com/watch?v=4VTpB_PEcQQ

rear

https://www.youtube.com/watch?v=1PxL23FHdTE


Saturday, September 29, 2018

Miata NA cursed water plug part # FEA7-13-104


General

1991 Miata US w/ 226K miles

Overall the job was straight forward and took me a couple of hours with breaks.

Only needed to remove the ignition coil which turns out to have been the hardest part. Specifically the lower bolt [12mm].  Removing two heater hoses would have made it easier. I did not.

Special thanks to Rocky's Miatomotive for advice on access

Specific

Tools
- ratchet/12 mm socket
- regular pair of pliers
- small flashlight
- flat head screw driver

Parts
- FEA7-13-104 (cap, ceiling)
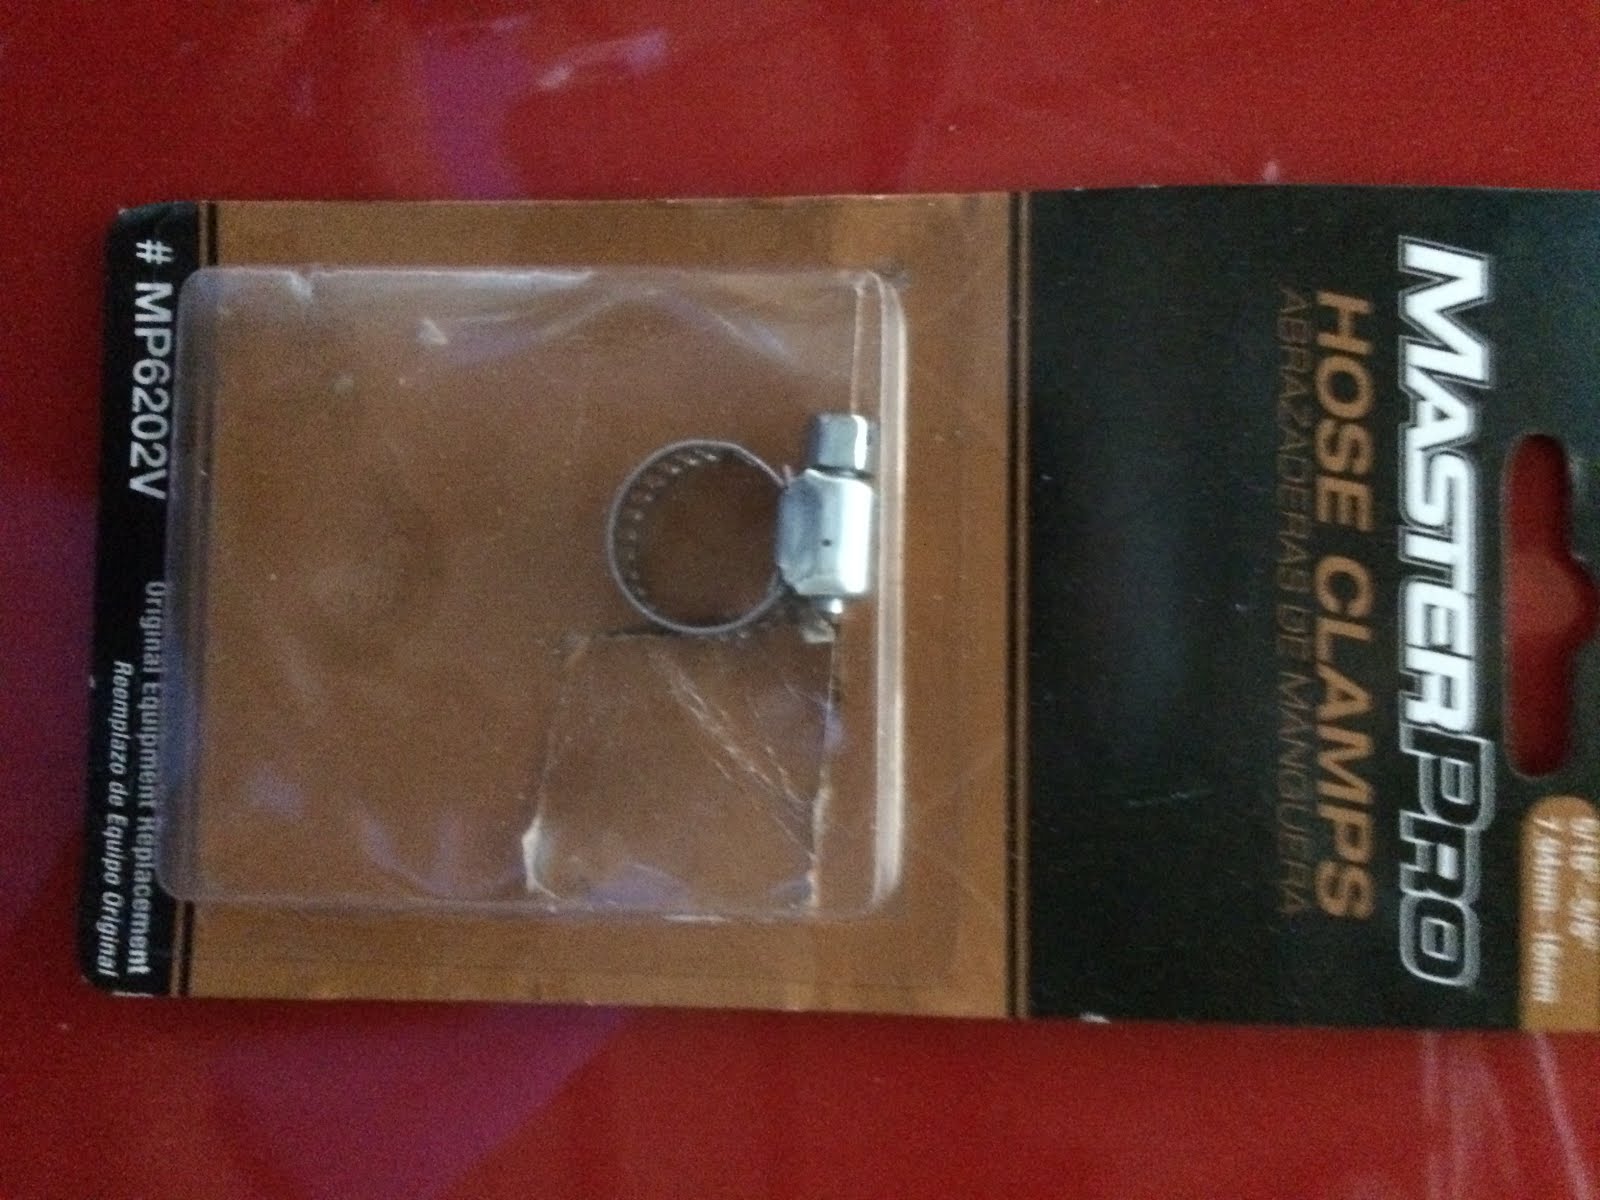
- Clamp (worm style)


Overview

- While I could reach in with my left hand from the passenger side and touch the plug, I needed visibility and additional access in order to remove and replace the clamp.  Removing the ignition coil served two purposes

1) allowed me to shine a flashlight down onto the plug so I could see to grip the clamp
2) provided access to allow me to tighten the new clamp (used worm gear)

Specifics


Step 1 - remove ignition coil.  top 2 12mm bolts are easy.  bottom 12mm bolt was a challenge due to limited room.  I was able to get a ratchet on the bolt and it was slow going.  Range of motion was limited by the heater hoses so only turning the bolt about a 16th turn each time.


Step 2 - remove clamp/cap.  with a flashlight shining down from the space opened up after removing the coil, with my left hand I was able to get a pair of pliers on the clamp and the light allowed me to see what I was doing.  Clamp/cap came of easily with no residue on the pipe.

Step 3 - replace cap/clamp.  using my left hand I was able to reach in a and push on the cap.  used saliva as lubricant.  then used my left hand to slip on the clamp and hold it in place.  Then looking down from on top [ignition coil gap] , with my right hand was able to use a screw driver to tighten the worm clamp.

Step 4 - replace ignition coil.  Tight fit but was able to get the bolt started then, as above, took a while to tighten due to limited range of motion on the ratchet.


.